My outdoor patio furniture was on it's last legs and it was either time to invest in a new set or rehab what I had. Of course I decided to redo what I had! I felt like I had nothing to lose, because the furniture was in such bad shape, so I took some risks.
Before
First, I decided to stain the furniture with a black/ebony stain from Minwax. I haven't ever used a colored stain before, so I had no idea how it would look. One of the couches and the chair's cushions were faded and ripped in places. They were beyond repair! Patio cushions are very expensive to replace and I've found it difficult to find the right sizes. I was very lucky to find this great pattern that fit from Walmart for about $30, I needed five.
After: new stain and cushions
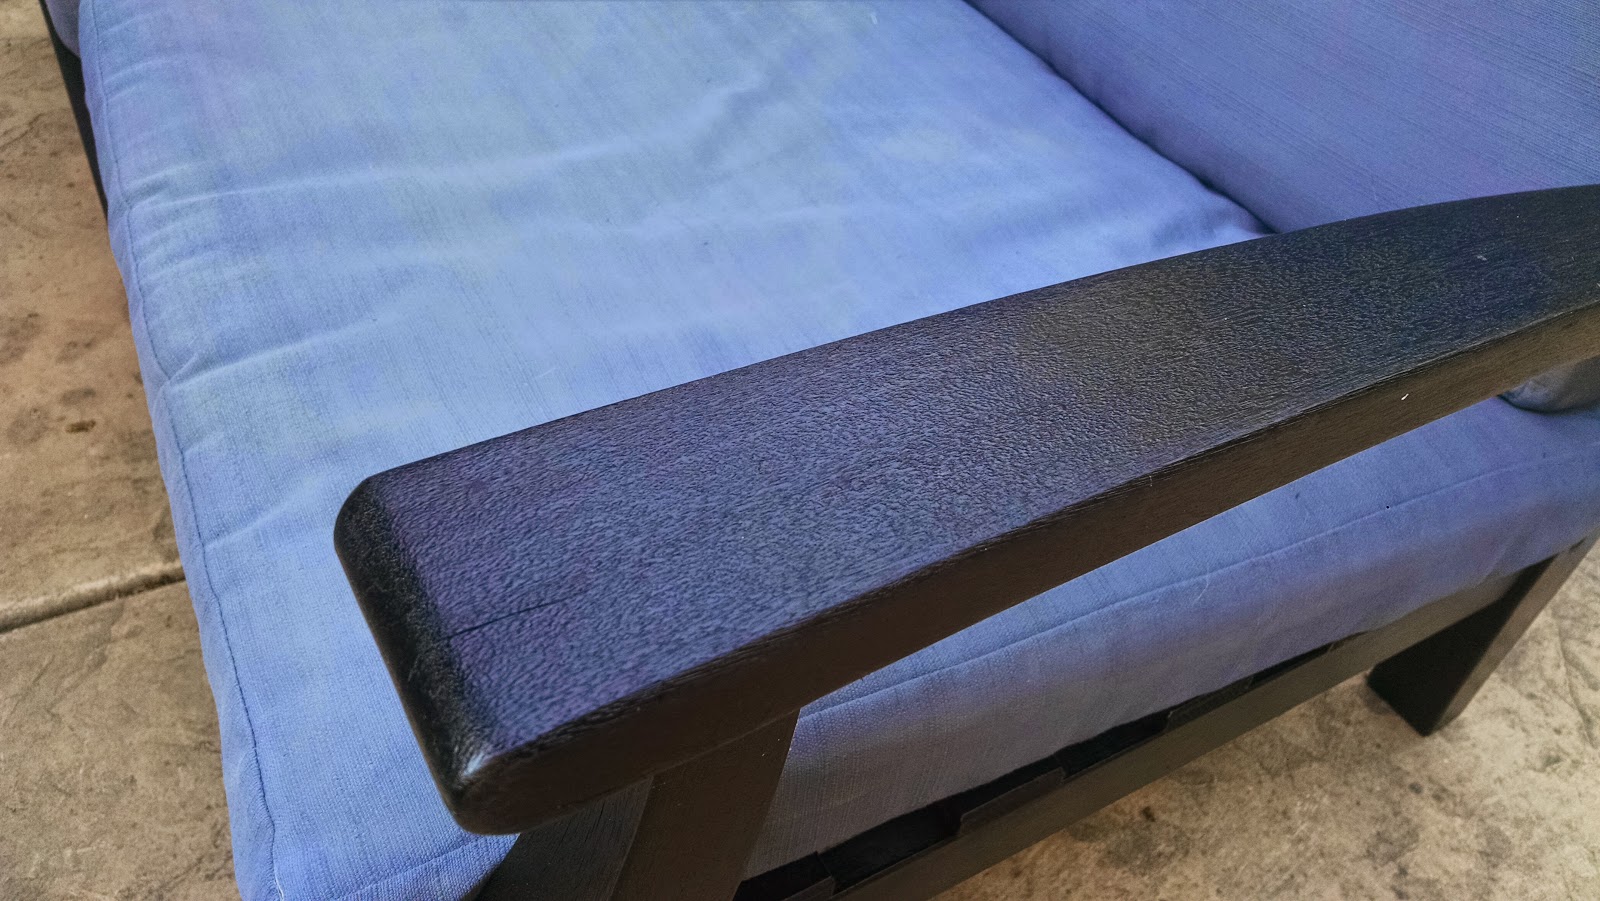
Up close of the beautiful black stain
On the larger couch, I found the cushions to be intact and decided to paint them. They were a light beige, but had stains and discoloration. They needed to be thrown out. Unstead, I used a regular dark grey paint, mixed with water and fabric medium. I found a few tutorials online on how to paint fabric and it turned out beautiful. I painted at least three coats of paint, letting it dry in between. It looks pretty awful after the first coat, but it gets better with each layer.
First coat on left, dirty with midlew on right
After: painted patio cushions
Finally, I recovered all the pillows. Armed with a Joann's Fabric coupon, I picked an orange duck fabric for one side, and a black and white pattern of outdoor fabric for the other side. They look great against the black pattern of the cushions and the grey.
I also tried painting the pillows, but in the end only kept one. This is a silver metallic spray paint with black fleur-de-lis. I like how it turned out.
Scanning garden magazines has given me so many ideas; I
cannot keep up with them all. Two such
articles grabbed my interest and so I went to work on the creation of some
succulent gardens. My hubby, Mike,
supports me in most all of my projects, especially in the out of doors.
So I asked him to build a table top frame with legs
and without a bottom; outside dimensions of 15" X 40". We bought table
legs and he screwed them into the bottom of the table-like frame he made. You can buy the receptacles at the hardware store and screw them into the bottom of the frame so the legs get screwed into these receptacles. Then we dropped, into the bottom of top frame, a steel
chicken nesting tray which had over 100 holes in the bottom for aeration where
the chicken farmers would place straw on top. The table top frame was made the size of the steel nesting tray so it all fit.
Right on the top of the steel chicken nesting screen, I put a double layer of burlap and then an inch layer of really good
potting soil. I searched the flea
markets for old calf nursing buckets which originally would have a rubber
nipple so the warm milk (mixed with ground grain) was gobbled down by baby
calves. Did I mention that I grew up on a Kansas farm? That was just one of my jobs
growing up on the farm. We then found really
old used water faucets and mounted them in the hole where the old rubber nipple used
to be. All of this was just for effect.
I’ve used those old buckets in other places in the garden, along with my many vintage watering cans I collect.
Tabletop garden finished prior to planting
I also used other kinds of buckets, vintage watering cans and pots for the garden
and planted the different kinds of succulents in the pots as well as into the
garden soil surrounding the pots. I
painted the garden legs and frame a slate grayish blue color. I live in planting Zone 7 and to protect my
succulents I bring them into the house in the winter. This section of our outdoor living area is a real joy to tend and the many varieties and colors of the succulents are a lovely addition to the patio. The added fact that Succulents rarely need watering, maybe only once each week, may appeal to many.
VERTICAL SUCCULENT
GARDEN
The other article on succulent gardens I picked up on in the gardening magazines, was how to build a Vertical Succulent garden...to hang on a garden wall. I like a good challenge so I wanted to tackle this idea. So, I found a good old oak drawer for $4 at an estate sale that had a little character. Ever since I was a young
girl, I’ve had this small drawer where I used to keep my diary and “secret”
things hidden. It came out of an antique
secretary in my parent’s basement that was there when we bought the farm in 1947. Mom
probably wondered what happened to that little drawer which I am sure is well
over 100 years old by now.
I drilled a couple of holes in the bottom of both drawers in a couple of
places but not sure that was necessary. I filled the boxes a little over 3/4th full of good potting soil and pressed it down.
Filling drawer with soil
Chicken wire can be purchased at hardware stores by the foot (and is 36" wide) and using sheet metal clippers I cut enough to fit each box plus about an inch more on all sides. Bending down the 1 inch on the inside of the box, I stapled the wire to the box on the inside of the box all the way around.
Stapling in the chicken wire
Hardwood drawer with brass inset pull
I then pushed succulents of all colors into and through the chicken wire. Just for aesthetics,
I stuck in sphagnum moss through the wire and pulled some to the surface to cover up some of the wire. It’s just that easy. Oh yes, I screwed small metal cup hooks about 5 inches down on the outside on both sides so that I could make a hanger for
the vertical boxes.
Succulents should
maybe be watered once a week, so they are of little care. Water lightly so that you do not wash out the
plants. I think birds from time to time
like to carry off some of the sphagnum as I will find a plant or two on the ground
under the box and missing sphagnum. If you do not see
yourself doing this from scratch, I did see boxes ready to plant on a bottom
shelf at Home Depot in the gardening department.


.jpg)

.jpg)
.jpg)

