My outdoor patio furniture was on it's last legs and it was either time to invest in a new set or rehab what I had. Of course I decided to redo what I had! I felt like I had nothing to lose, because the furniture was in such bad shape, so I took some risks.
Before
First, I decided to stain the furniture with a black/ebony stain from Minwax. I haven't ever used a colored stain before, so I had no idea how it would look. One of the couches and the chair's cushions were faded and ripped in places. They were beyond repair! Patio cushions are very expensive to replace and I've found it difficult to find the right sizes. I was very lucky to find this great pattern that fit from Walmart for about $30, I needed five.
After: new stain and cushions
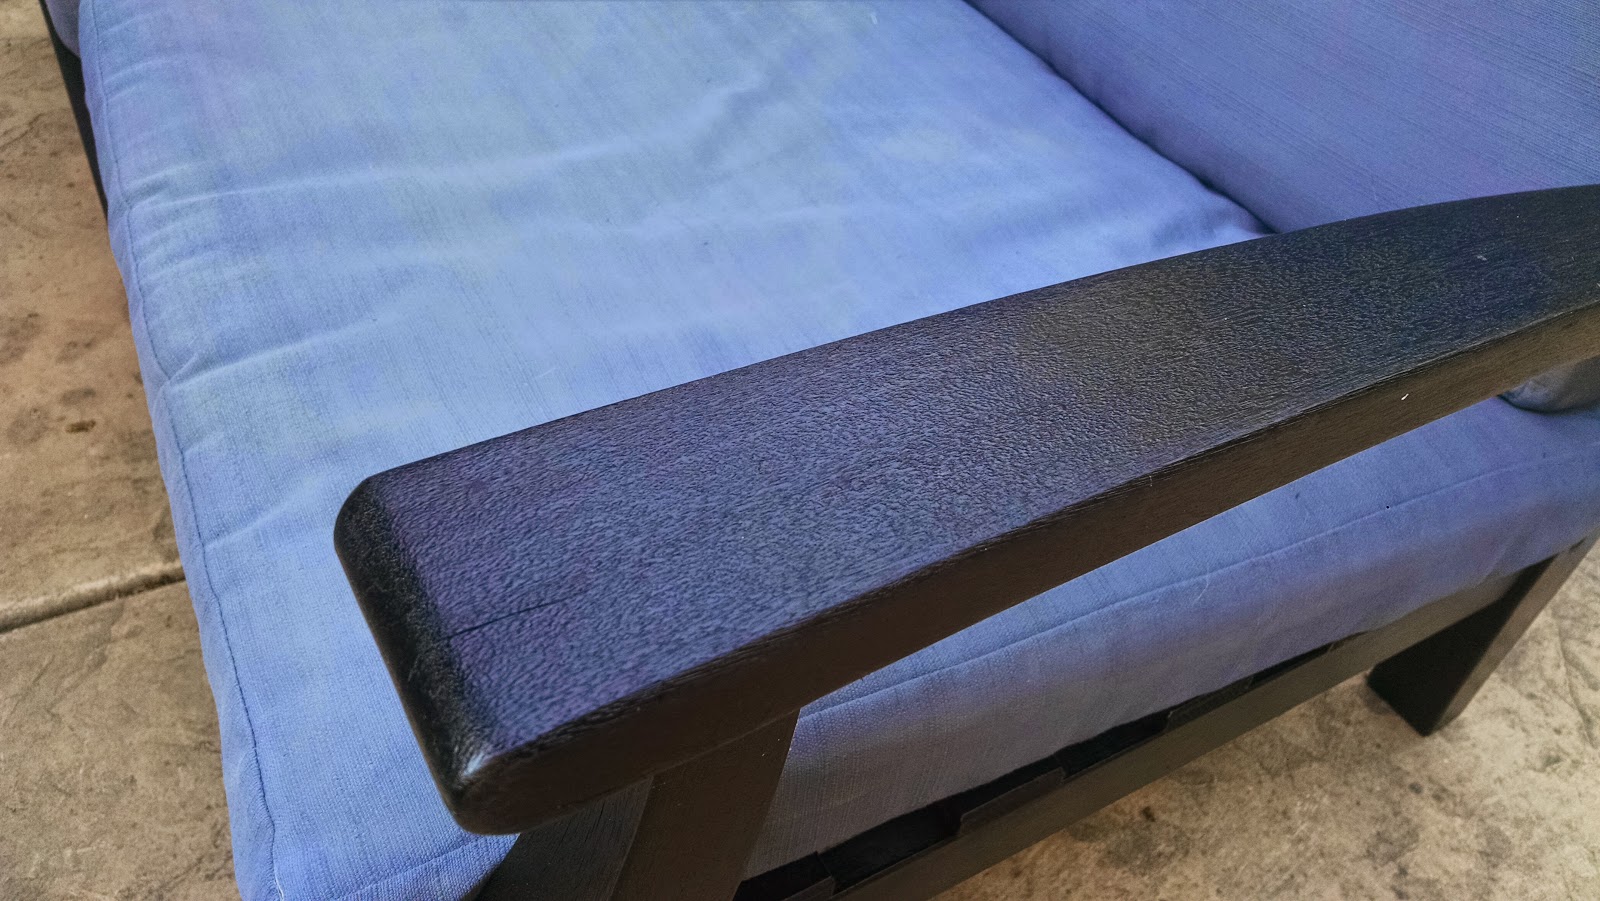
Up close of the beautiful black stain
On the larger couch, I found the cushions to be intact and decided to paint them. They were a light beige, but had stains and discoloration. They needed to be thrown out. Unstead, I used a regular dark grey paint, mixed with water and fabric medium. I found a few tutorials online on how to paint fabric and it turned out beautiful. I painted at least three coats of paint, letting it dry in between. It looks pretty awful after the first coat, but it gets better with each layer.
First coat on left, dirty with midlew on right
After: painted patio cushions
Finally, I recovered all the pillows. Armed with a Joann's Fabric coupon, I picked an orange duck fabric for one side, and a black and white pattern of outdoor fabric for the other side. They look great against the black pattern of the cushions and the grey.
I also tried painting the pillows, but in the end only kept one. This is a silver metallic spray paint with black fleur-de-lis. I like how it turned out.
I've mentioned before that I save all glass jars, and I wasn't kidding. I just wash and clean them, and set them aside... waiting for inspiration or a project to come up. Since I have a household full of boys, I don't get to be girlie often, by I love to use glitter in my projects.
For the pen jar above I used a Coconut Butter jar that has a nice wide mouth as a sparkly pen jar. After the jar was clean, I used small paint brush to coat the INSIDE of the jar with Modge Podge and silver glitter. I let the jar dry three times and redid the painting process after each time. Otherwise you are just moving all the glitter around, but if it is dry you are truly adding another coat. This fully covered the inside of the jar with glitter.
When dry I did a thick layer of Modge Podge inside the jar with NO glitter to seal layers and so the glitter won't come off.
In the background is a large olive jar that I used thin painters tape and gold spray paint to created a shiney vase with stripes. The last is a probiotics bottle, with a more narrow mouth. I used Snow Glitter (which is coarse and opaque, a lot like epsom salts) on the outside, applied with Modge Podge. Here is the same vase with a few pretty flowers.
This project Mom and I got to do together, which is very rare! We painted it with love for my niece who was spending the summer with my family in California. My guest room doesn't have a dresser, which a long term guest needs. So after scouring a local Free Cycle site with no luck, I put a WANTED notice on Free Cycle and immediately someone offered up this simple dresser.
Mom and I picked up these beautiful glass knobs at Cost Plus World Market and used paints I already had on-hand.
My niece picked the colors and wanted to do three different colors. We removed the original wood knobs, cleaned and sanded down the entire dresser. We left the top natural (no stain!), just sealed it with Wipe On Poly. With the drawers removed, we painted the body a light grey. The drawer fronts got Annie Sloan Chalk Paint Aubusson Blue and the drawer trim is a bright white. I started adding Floetrol to all my paints a awhile, and found it leaves a smooth, more consistent finish.
The whole dresser was finished with Wipe On Poly after it had dried.
Total cost was just the knobs (since I had everything else in my crafting stash), which wasn't too bad and it turned out so perfect!