My oldest son was a HUGE Lego fan for about ten years and he amassed quite a collection during that time. If your child is into Legos, then you know they create a big mess. So I was always looking for ways to organize the Legos, that also allowed my son to continue to play with them. I wasn't very successful actually! As he got older my focus was to display these beautiful toys in a more mature way.
I finally repurposed this small display shelf to hold their most important minifigs. I used green postboard to cover the back. That served to help see the minfigs better, since they would show better than with a white background. Also the display shelf had star & moon cutouts I wanted to hide. Next I glued down a large Lego plate that I cut to fit each shelf. The height was too high, so I added a half shelves also made with the Lego plate. Then I added in all the Lego Mini Figures that we have collected through the years. It makes a lovely display on my son's wall.
I save pretty much all my glass jars, just in case a fun project comes up. Jam and jelly jars, peanut butter and pickle jars, olive and coconut oil jars! Each one is unique and will be great for some future repurposing project.
I hosted a large party where we decided to make small lanterns as the guest's party favor. It was a bonus that we could used the lanterns to decorate during the party, then they would help light the guests on their way home.
The best part of this project is that over a year later, I still see friends using this party favor in their homes or patios!
We used all different kinds of jars: pickle (bigger and squat), jam (wide mouthed and smaller), olives (taller with a wide mouth) and lots of pasta sauce jars. All the different shapes and sizes were fun to see!
Super Simple How To:
1. Soak the jars in soapy water to remove any glued labels, or use a knife to scrape off any remaining stickiness.
2. Once cleaned, I painted the insides of each jar with a mixture of watered down glue (or modge podge)and silver glitter. The glue will dry clear, so only the glitter is left behind.
3. I then used crafting wire to wrap around the mouth and make a simple handle.
4. Add some fine sand to the bottom. Depending on the amount of glitter you may not be able to see much of what is inside the lantern.
5. Insert a battery tea lights, and watch it twinkle!
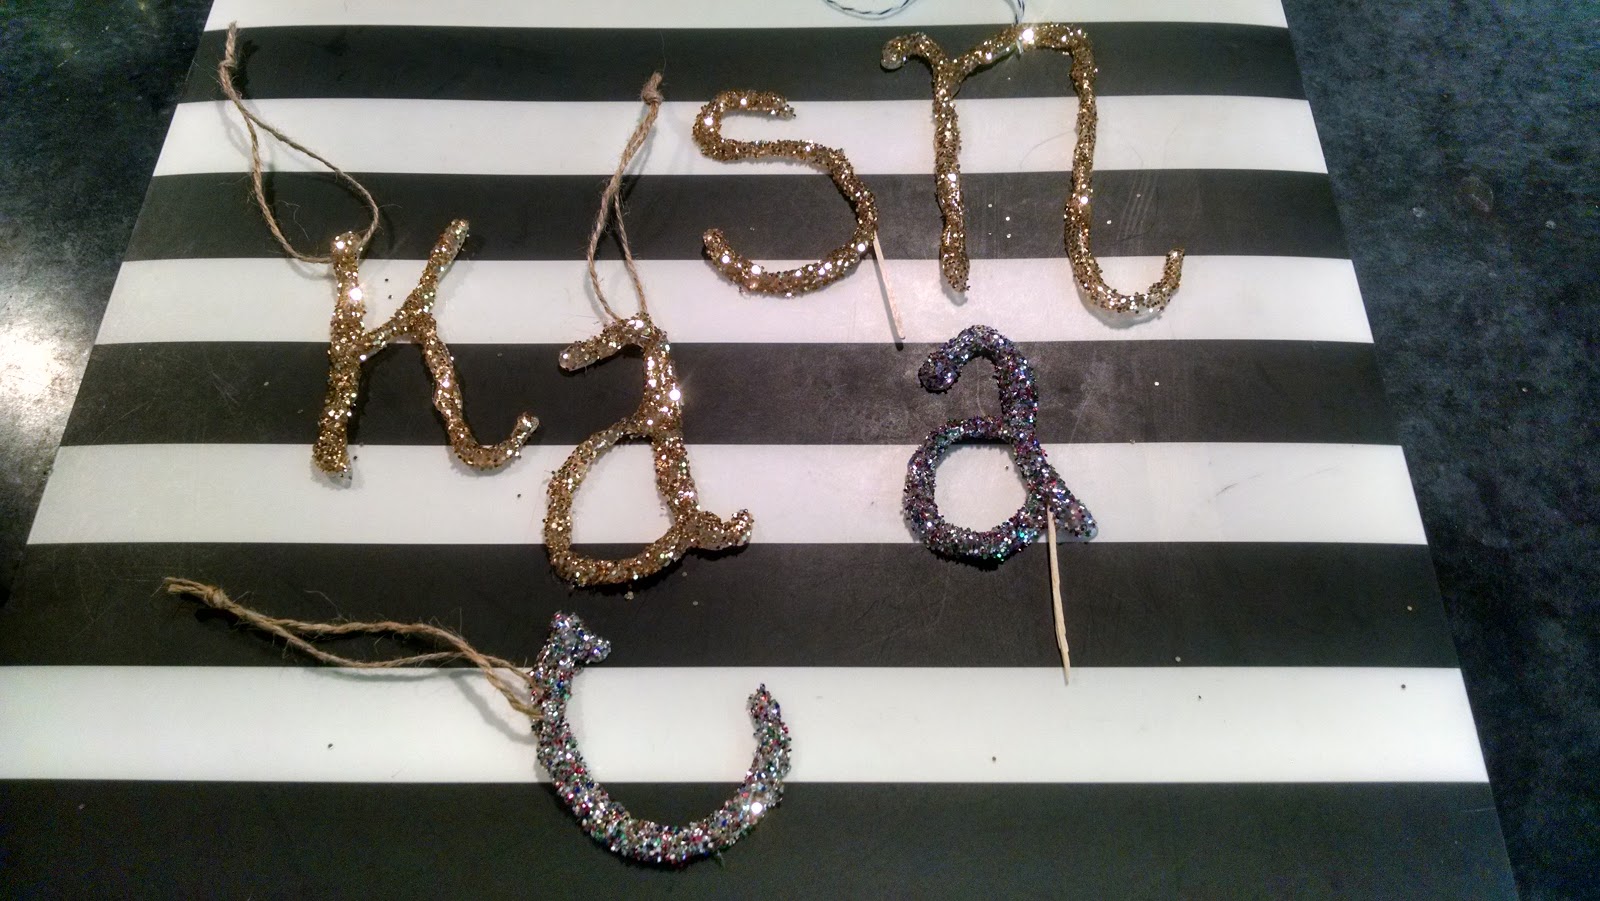
I think this is so cool, because you are literally making something from nothing! With just a few supplies and a couple of minutes, you have a beautiful sparkly letter. All you need is a hot glue gun and glitter.
I used a toothpick on a few of the letters, so I could later use them on a birthday cake. The others I attached a twine loop, so they could be hung. I think the neck of a wine or champagne bottle, as a gift tag. Or even hang the letters from the Christmas tree!
Once I started, I wanted to make more and kept thinking of new uses for them. But my hand got less steady, so I stopped at five letters. In the future, I may print out some pretty calligraphy to trace.
You could make symbols, or even numbers to top a birthday cake. What would you make with this fun hot glue trick?
All you need:
* Hot glue gun, it takes a lot of glue so much sure you have refills
Mom and I bought this floor lamp 20+ years ago and a yard sale. I've always found a little place for the lamp wherever I've lived, it's functional but not very exciting.
I wanted to keep it metallic and settled on a pretty copper.
To start, I cleaned the lamp up and then gave it a light sanding. There was no turning back now, since the sanding scratched up the surface.
The base of the lamp is black and was a bit beat up, so I gave it a fresh coat of black spray paint too. Then I used a can of Krylon Copper Brilliance spray paint. I had to shop around a bit to find this new color, but thankfully Amazon has it!
The lamp turned out great, and the new color looks much better with my color scheme than the old chrome did. It really gave the old lamp a new life! I also took a plain basket and did a "dipped" paint effect on it with the copper spray paint.
My house is filled with boys, and while they have been through a lot of toys, Nerf has been a tried and true favorite. So we have A LOT of Nerf! Recently my youngest son has started customizing his Nerf with nice paint jobs, so we want to do a better job of caring for them.
BEFORE: Basically all the Nerf were thrown in a large plastic tub. Small parts sorting to the bottom and potentially lost forever.
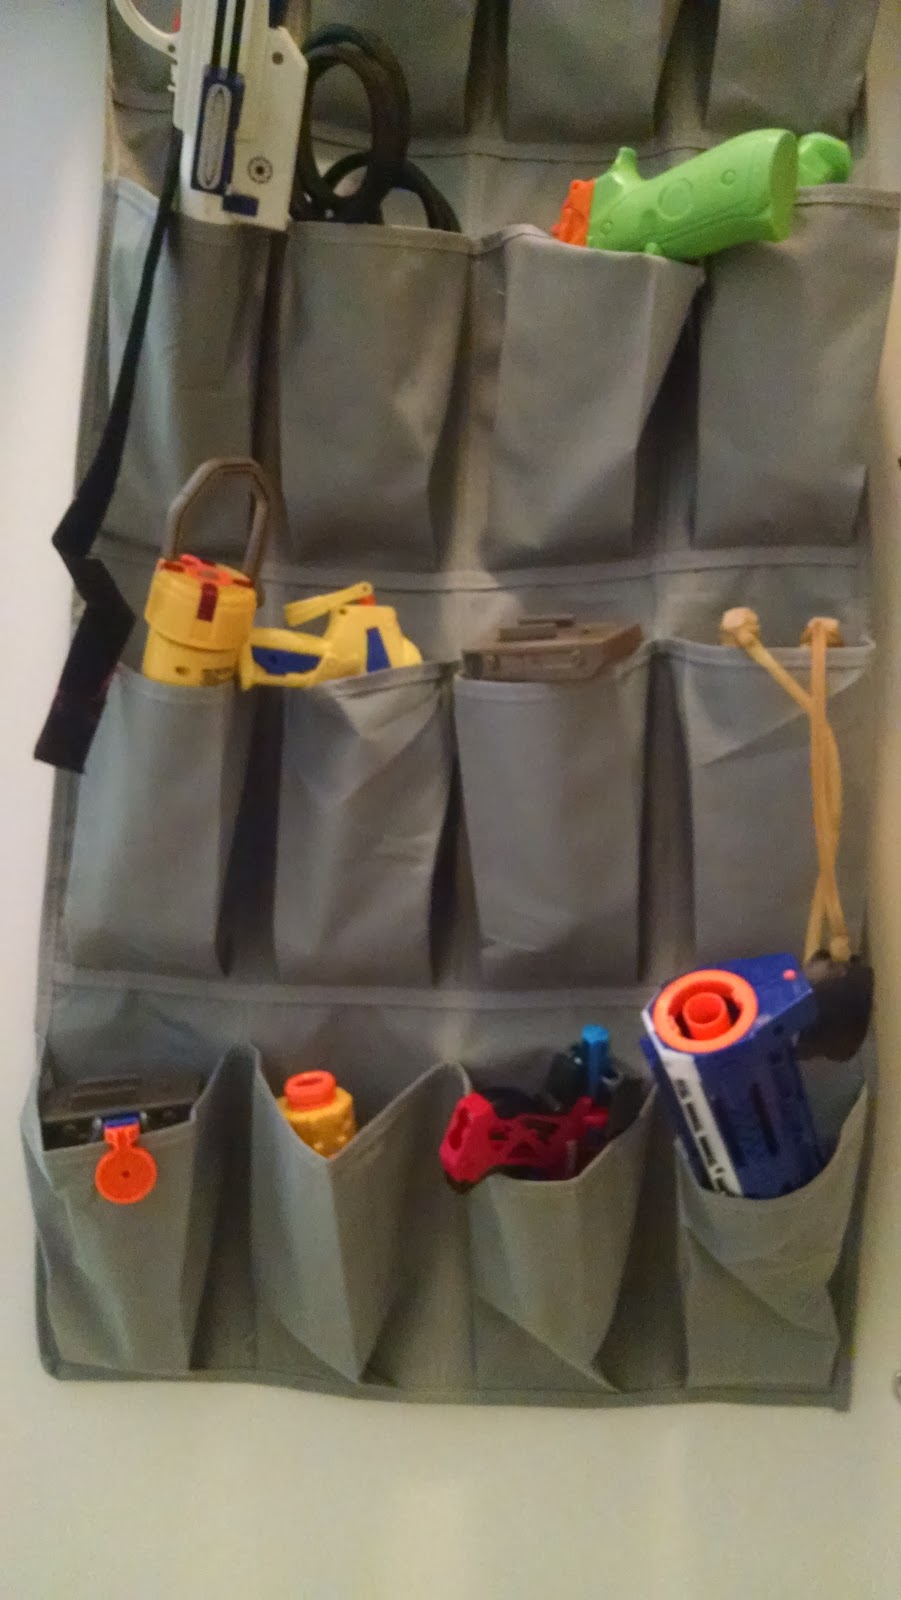
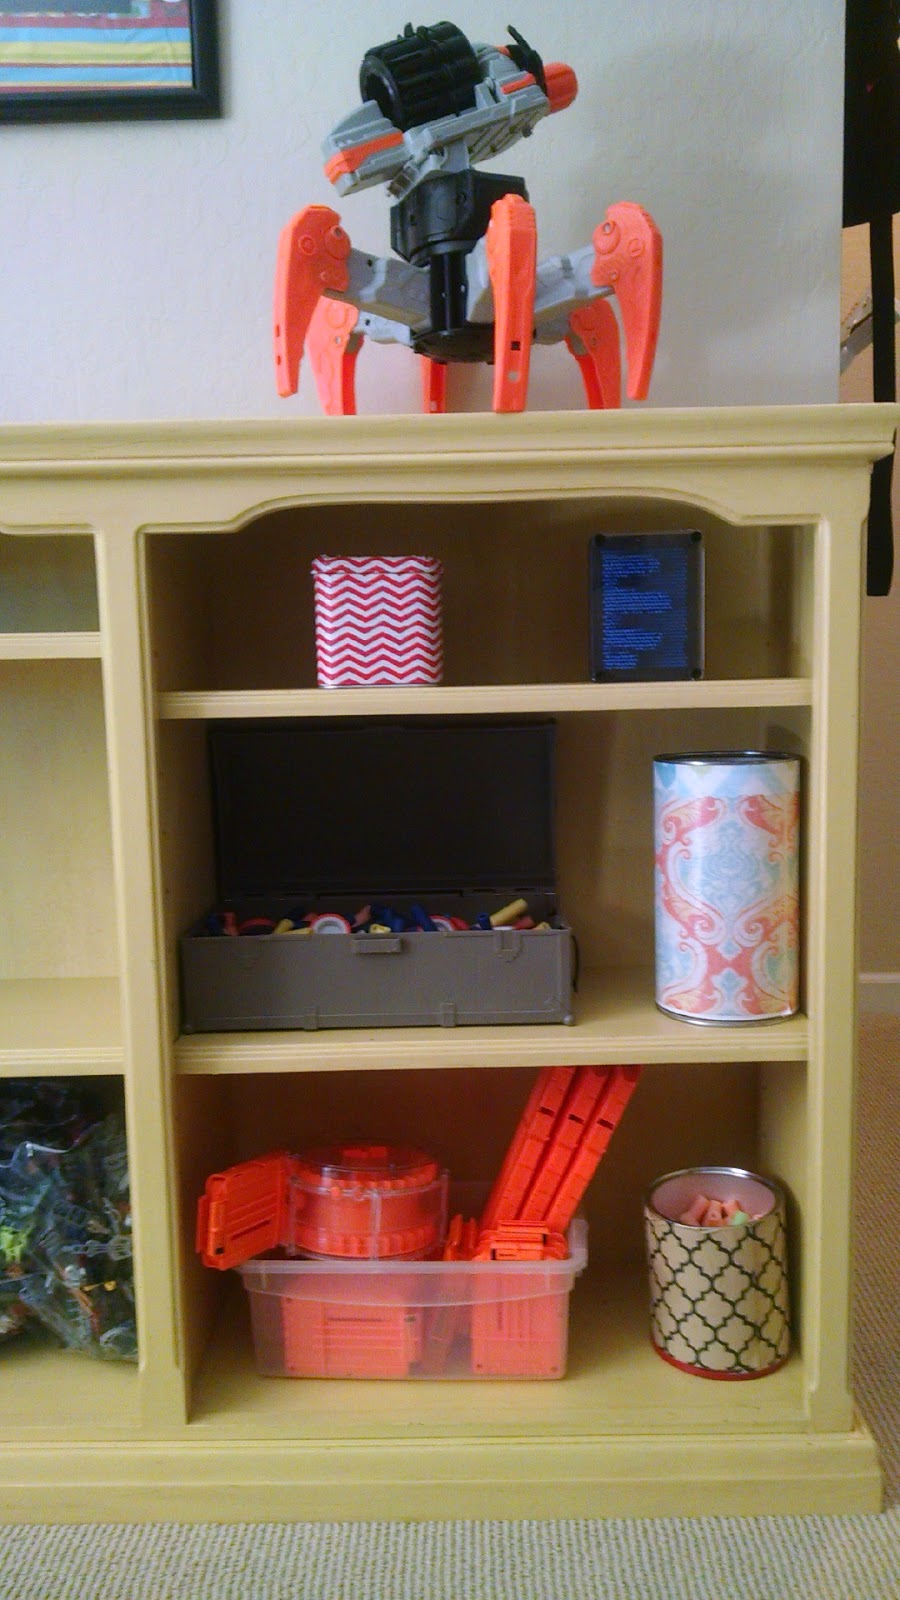
AFTER: We used a tall bookshelf with the shelves removed and the back replaced with pegboard to display the best Nerf. A overdoor hanging shoe organizer was used for all the odds and ends. We stored the ammo and magazines on a nearby bookshelf in cute tins.
Nerf Arsenal
We got the bookshelf for free on FreeCycle. It was pretty flimsy, but the added pegboard from Home Depot helped make it more sturdy. It fits nicely into exactly the same spot of as the old plastic tub.
Spring mounted curtain rod with S-Hooks holds the larger Nerf
Custom painted Nerf
Now my son can show off his custom painted Nerf guns!
The Shoe Organizer was such a simple idea, but works perfectly! There are so many random things to hook onto the nerf and small guns, that this makes a great place for all the odds and ends.
Shoe organizer used for Nerf storage
$12 Shoe Organizer from Target holds all the odds and ends
Ammo Storage
Ammo and Clips go on near by book shelf. I Modge Podged a few coffee tins to store the bullets in.
I have a few pairs of Converse that I love, but they are a few years old, well used and looking pretty beat up. I decided use a Magic Eraser on them and it worked perfectly!
I like to cut off a smaller piece of the Magic Eraser and wet it. Then rub it on the white rubber areas of the shoe. Immediately all the dirt, grime and stains came off! As you can see, my shoes look almost new!
I love the black Converse All Stars, they go with everything. But I have them in a few other fun colors too.
My outdoor patio furniture was on it's last legs and it was either time to invest in a new set or rehab what I had. Of course I decided to redo what I had! I felt like I had nothing to lose, because the furniture was in such bad shape, so I took some risks.
Before
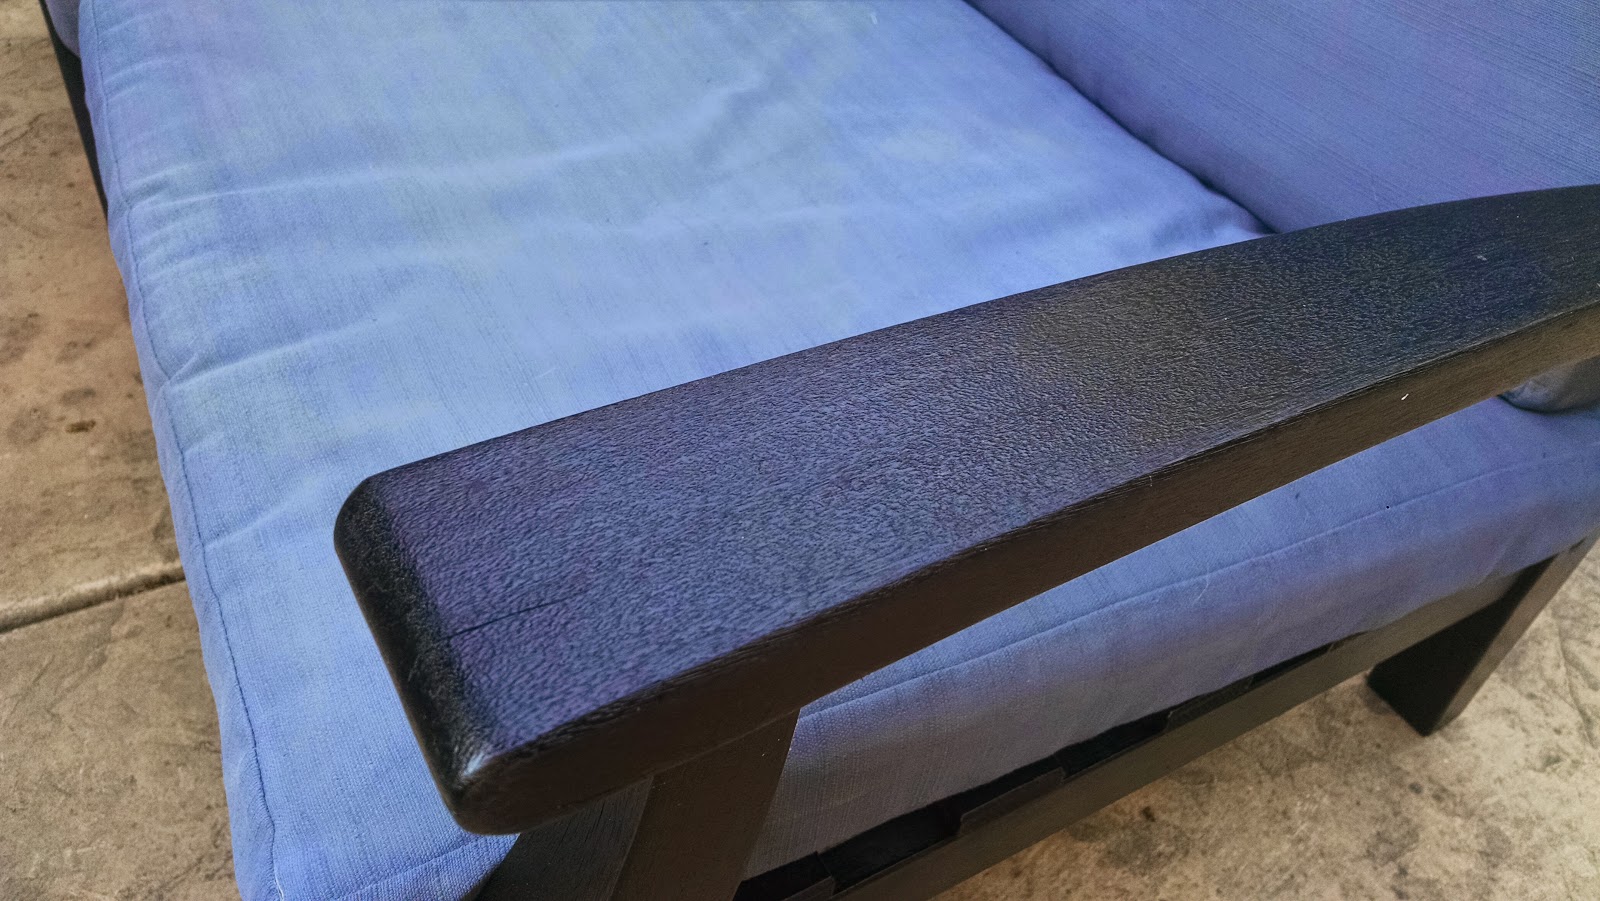
First, I decided to stain the furniture with a black/ebony stain from Minwax. I haven't ever used a colored stain before, so I had no idea how it would look. One of the couches and the chair's cushions were faded and ripped in places. They were beyond repair! Patio cushions are very expensive to replace and I've found it difficult to find the right sizes. I was very lucky to find this great pattern that fit from Walmart for about $30, I needed five.
After: new stain and cushions
Up close of the beautiful black stain
On the larger couch, I found the cushions to be intact and decided to paint them. They were a light beige, but had stains and discoloration. They needed to be thrown out. Unstead, I used a regular dark grey paint, mixed with water and fabric medium. I found a few tutorials online on how to paint fabric and it turned out beautiful. I painted at least three coats of paint, letting it dry in between. It looks pretty awful after the first coat, but it gets better with each layer.
First coat on left, dirty with midlew on right
After: painted patio cushions
Finally, I recovered all the pillows. Armed with a Joann's Fabric coupon, I picked an orange duck fabric for one side, and a black and white pattern of outdoor fabric for the other side. They look great against the black pattern of the cushions and the grey.
I also tried painting the pillows, but in the end only kept one. This is a silver metallic spray paint with black fleur-de-lis. I like how it turned out.